
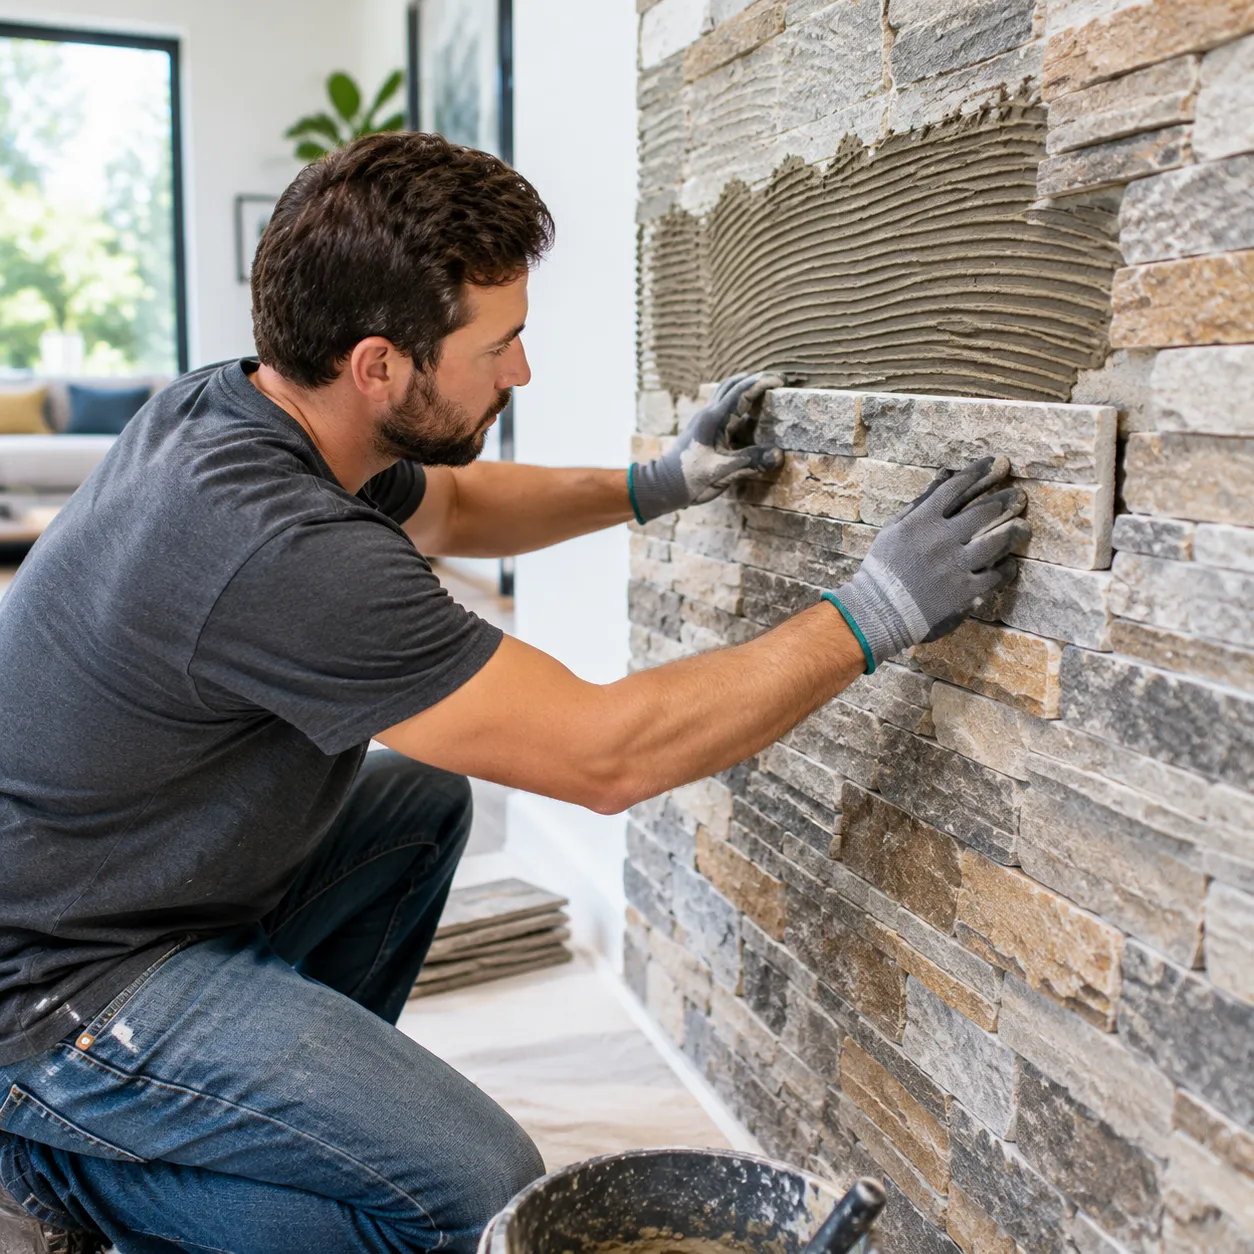
What Is Flexible Stone Veneer and Its Benefits?
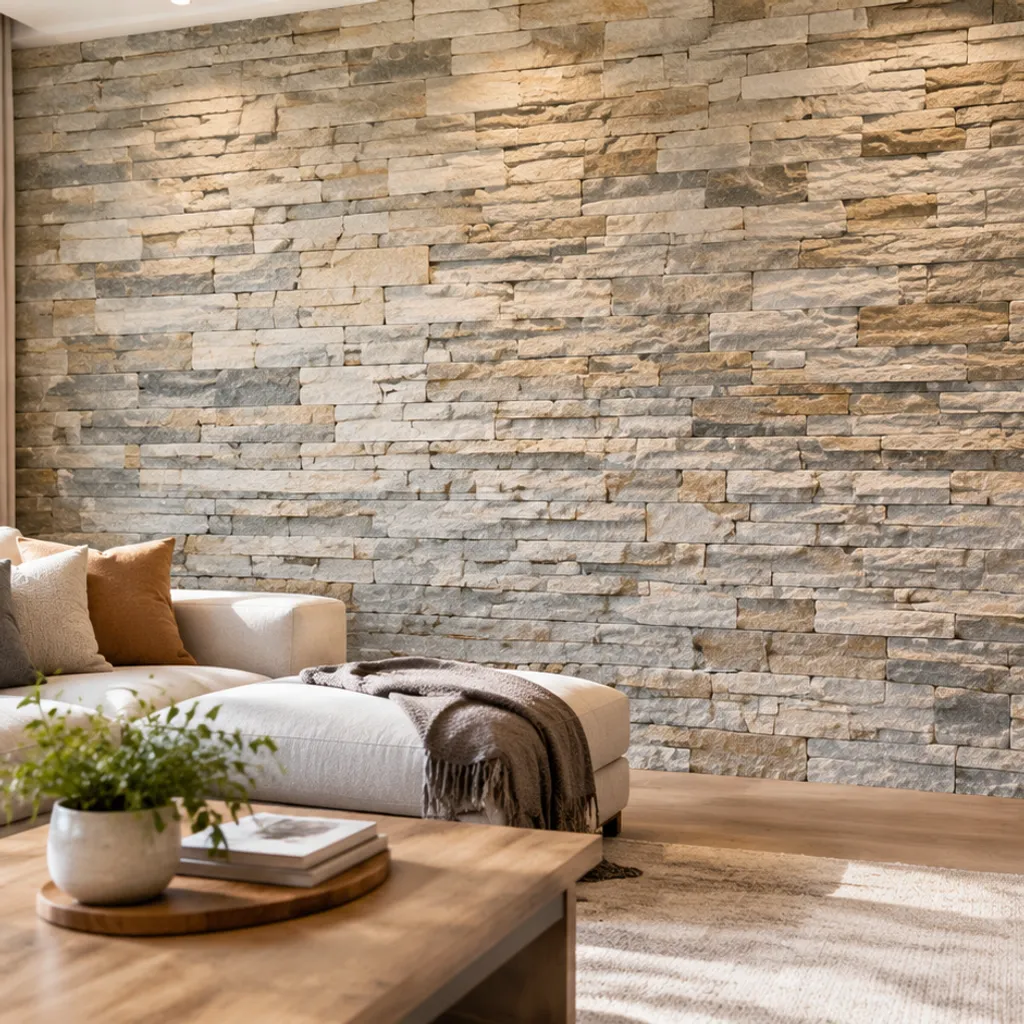
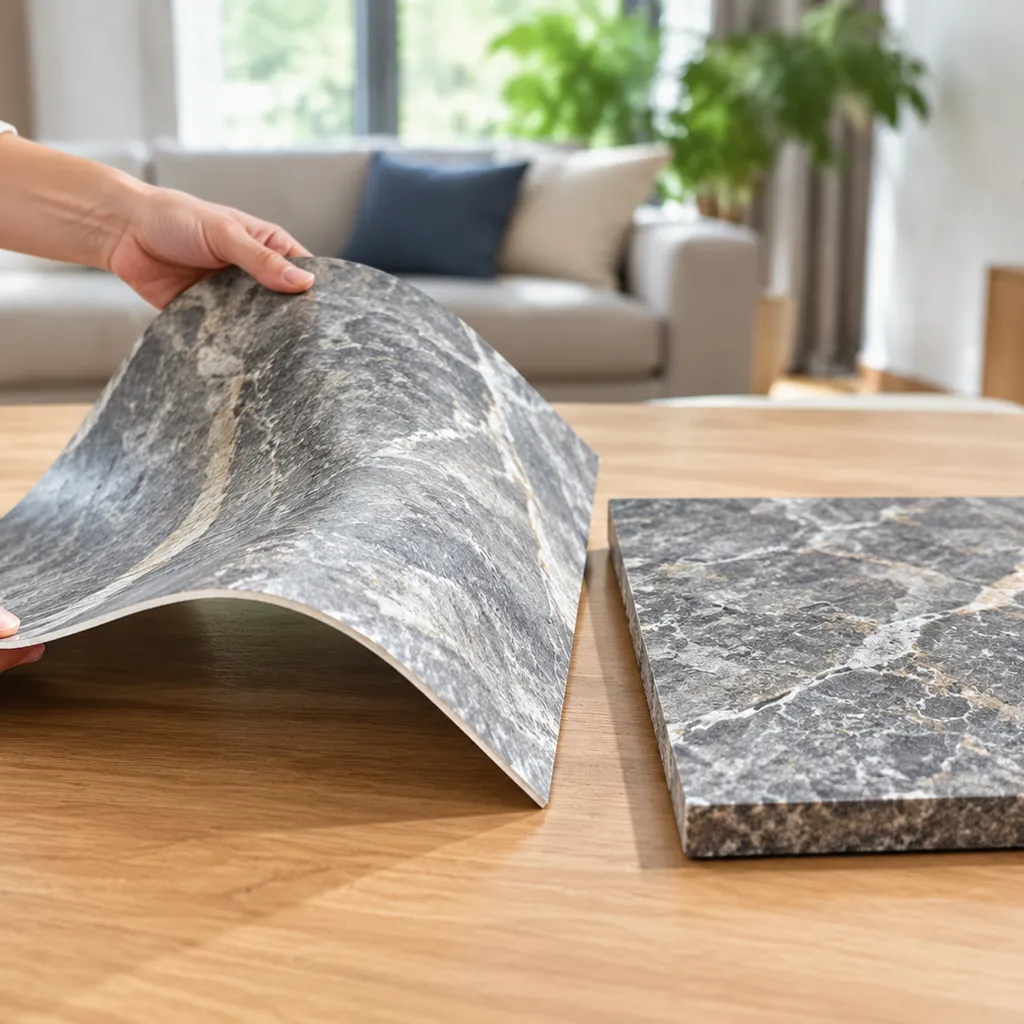
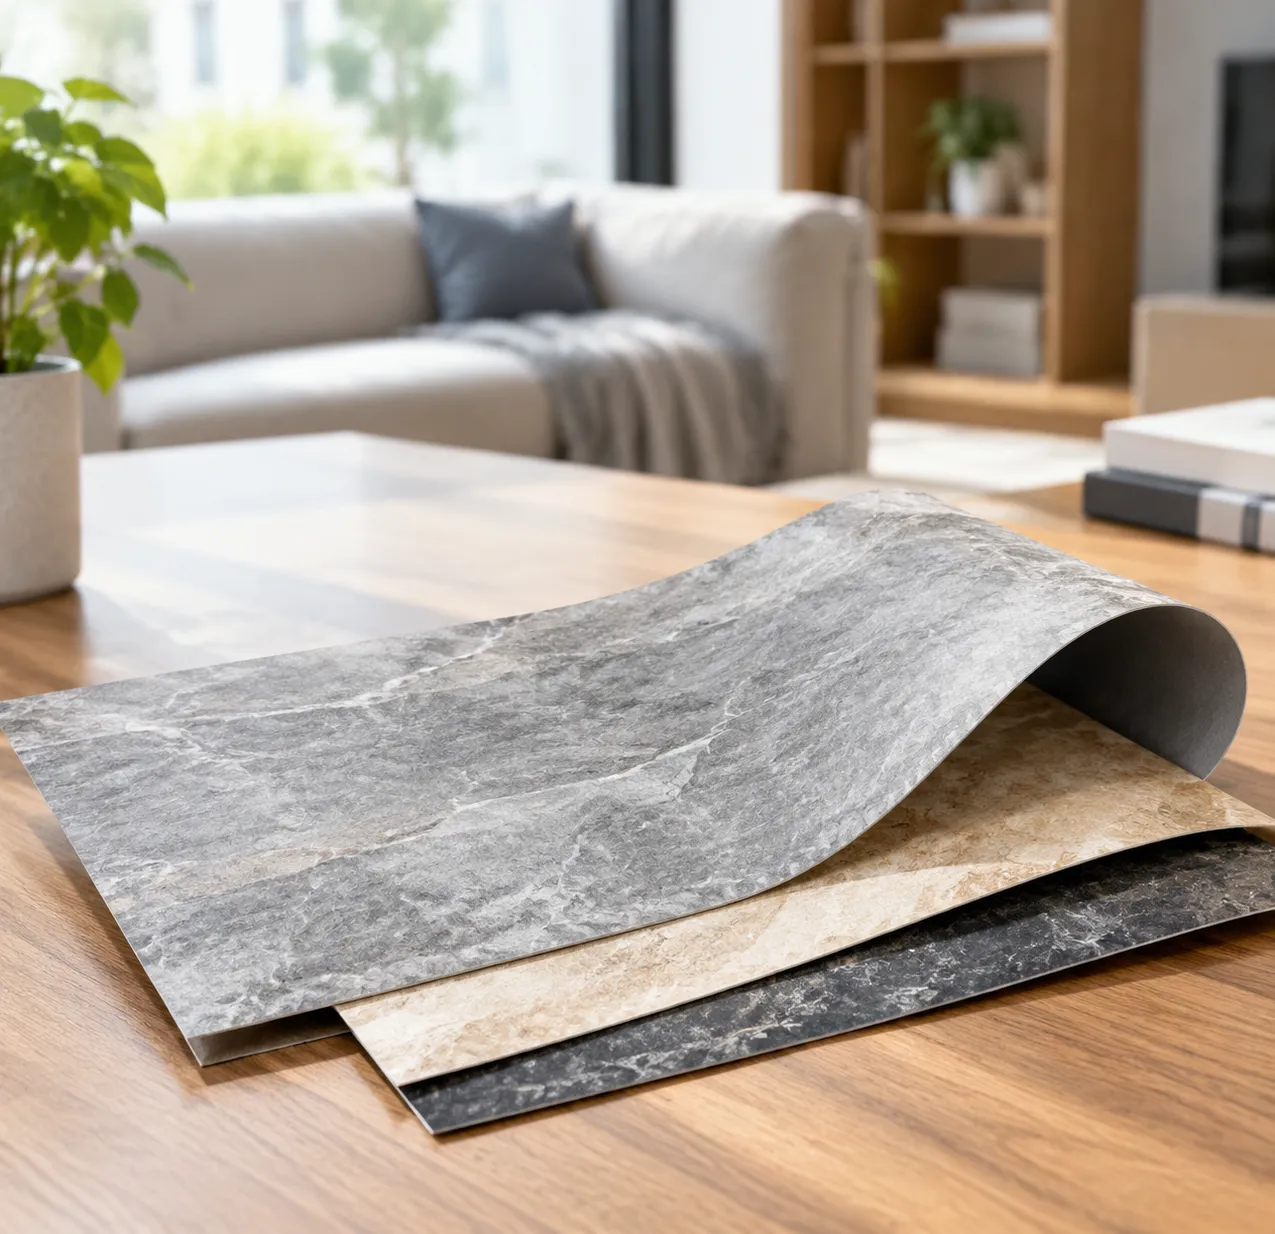
Flexible stone veneer is an innovative architectural cladding material made from a thin layer of natural stone backed by a reinforced composite or fiberglass polymer backing. It delivers the genuine texture, color, and aesthetic depth of quarried stone while eliminating the immense weight and rigidity of conventional slabs.
Because of its lightweight profile, understanding the flexible stone installation process opens up versatile design opportunities across both flat and contoured architectural surfaces.
Key Features and Flexibility
- Ultra-Thin Profile: Ranging between 1.5 mm to 3 mm in total thickness, maintaining authentic natural stone surfaces without excessive bulk.
- Exceptional Pliability: Flexes effortlessly around curved walls, cylindrical columns, and sharp architectural transitions without fracturing.
- Lightweight Handling: Weighs significantly less than standard masonry, dramatically lowering shipping logistics and labor demands.
- Moisture and Thermal Resistance: Engineered composite backing resists moisture penetration, UV exposure, and broad temperature fluctuations.
Advantages Over Traditional Stone
Flexible stone delivers substantial performance and logistical advantages over heavy, traditional stone masonry:
| Feature | Flexible Stone Veneer | Traditional Stone Slabs |
|---|---|---|
| Average Weight | Approx. 1.5 – 3.0 kg/m² | 40 – 90+ kg/m² |
| Substrate Requirements | Mounts on drywall, plywood, metal, or existing tile | Requires reinforced structural backing & heavy framing |
| Handling & Cutting | Standard shears, utility knives, or fine-tooth saws | Heavy wet-tile saws, masonry blades, and lifting gear |
| Curved Applications | Direct adhesion to curved and rounded structures | Requires complex custom stone cutting and carving |
| Installation Speed | Rapid application with standard adhesives | Labor-intensive, slow setting, and structural anchoring required |
Using flexible stone streamlines the entire workflow, reducing structural load limits and cutting overall job-site labor hours while achieving a high-end natural stone finish.
Required Tools and Materials for Installation
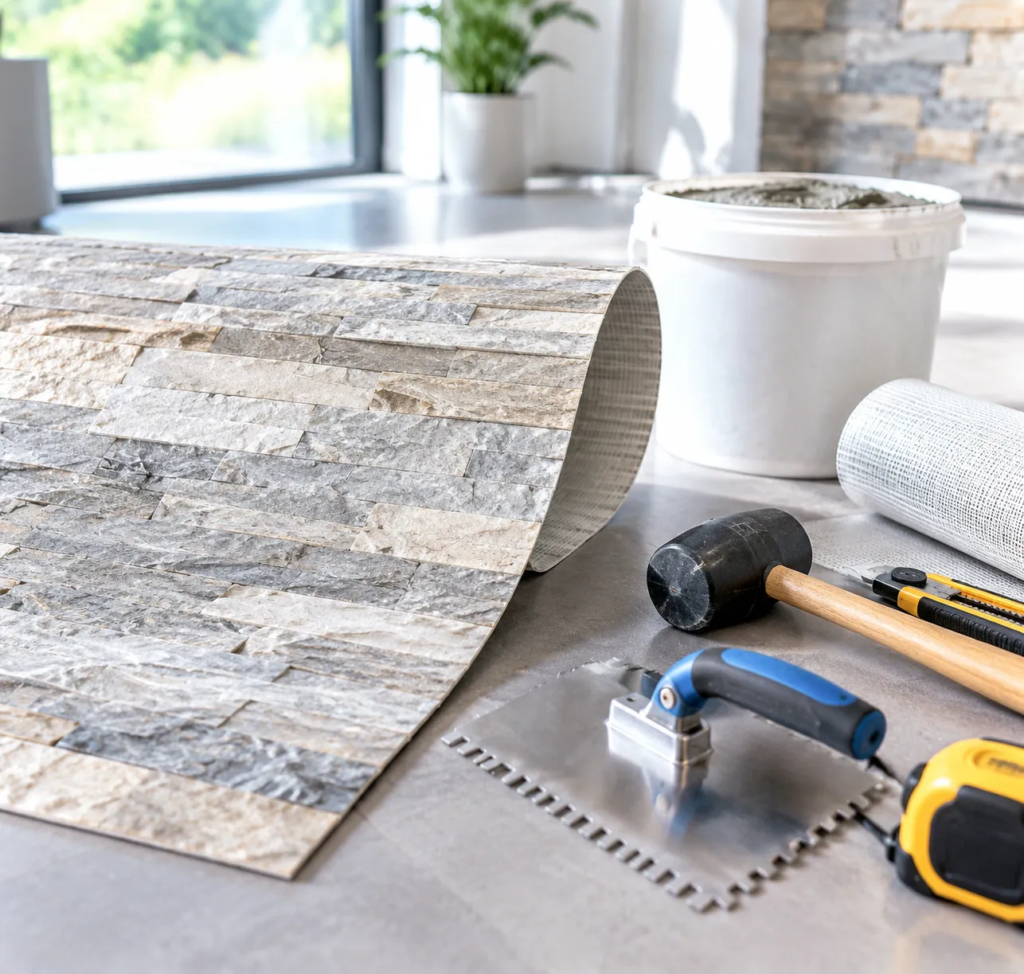
A smooth flexible stone installation process starts with the right equipment. Having your tools and adhesives ready before mounting prevents costly mistakes and ensures seamless application on any wall surface.
Essential Tools and Safety Gear
Working with lightweight stone veneer requires standard hand tools and basic safety gear to measure and cut panels cleanly:
- Measuring & Layout: Tape measure, chalk line, laser level, and a straightedge.
- Cutting Tools: Heavy-duty utility knife, tin snips, or an angle grinder fitted with a continuous-rim diamond blade.
- Application Gear: Notched trowel (3mm to 4mm V-notch or square-notch) and a hard rubber hand roller to smooth the veneer and remove trapped air.
- Personal Protection: Safety goggles, work gloves, and a dust mask when trimming sheets.
Choosing the Right Adhesive and Sealant
Proper adhesive selection guarantees a permanent bond between your substrate and the stone backing. Different environments require specific formulas:
| Installation Area | Recommended Adhesive Type | Recommended Sealant |
|---|---|---|
| Interior Dry Walls (Drywall, MDF, Plaster) | High-tack polymer adhesive or modified PU glue | Standard stone-impregnating penetrating sealer |
| Wet Areas (Bathrooms, Backsplashes) | Waterproof MS polymer or epoxy-based adhesive | Deep-penetrating hydrophobic stone sealer |
| Exterior Facades (Concrete, Masonry) | Flexible cementitious mortar or exterior-grade PU adhesive | UV-stable, weather-resistant stone protector |
Always test the adhesive on a small scrap piece to confirm bonding strength before coating large surface areas.
Step-by-Step Flexible Stone Installation Process
Executing a seamless installation comes down to precision, proper timing, and standard preparation. Here is the exact workflow we use to ensure durable, high-impact results on every project.
1. Surface Preparation and Flattening Sheets
A flawless install starts with thorough surface preparation. Any dust, grease, or uneven texture on the substrate will compromise your bond.
- Clean the substrate: Ensure the mounting surface (drywall, concrete, plywood, or tile) is completely clean, structurally sound, and 100% dry.
- Level high spots: Fill deep crevices with patching compound and sand down ridges.
- Acclimate the material: Unbox the flexible stone sheets and lay them flat at room temperature for at least 24 hours prior to installation to relax any packaging curl.
2. Measuring, Planning, and Layout Strategy
Before opening any adhesive, plan the full layout to ensure balanced stone patterns and minimal waste.
- Dry layout: Lay sheets out on the floor to blend natural color variations and grain patterns across panels.
- Establish reference lines: Use a laser level or chalk line to snap true vertical and horizontal guide lines on the wall.
- Number panels: Mark the back of each panel in sequence so you know exactly where each piece goes during live installation.
3. Cutting Panels to Size Around Obstacles
Achieving clean joints requires steady measurement and appropriate cutting tools when you measure and cut around outlets, switches, and edges.
- Mark cut lines: Measure twice on the substrate, then transfer the dimensions to the back of the veneer sheet.
- Choose the right tool: Use heavy-duty shears or tin snips for straight cuts on thinner sheets, or a circular saw with a diamond blade for thicker backing.
- Fit test: Dry-fit the cut panel against the wall around pipes and electrical boxes before applying adhesive.
4. Applying Adhesive and Mounting Sheets
Proper adhesive selection and uniform coverage guarantee that panels stay permanently locked in place.
- Trowel application: Use a 3/16-inch or 1/8-inch V-notch trowel to spread the recommended adhesive evenly across the substrate or the back of the sheet.
- Check coverage: Aim for 100% adhesive coverage without leaving dry voids or thick ridges.
- Position carefully: Align the sheet against your reference line and set the bottom edge first, gently tilting the sheet upward against the wall to prevent trapped air pockets.
5. Pressing, Rolling, and Securing Placement
Once the panel is mounted, you must smooth the veneer to ensure complete adhesive transfer.
- Roll the entire surface: Work from the center outward to the edges using a firm rubber hand roller.
- Eliminate air pockets: Apply consistent pressure across the entire face to force out trapped air and bed the sheet into the adhesive matrix.
- Wipe excess adhesive: Immediately remove any adhesive squeeze-out along seams using a damp cloth or manufacturer-approved solvent before it cures.
Handling Special Installation Scenarios
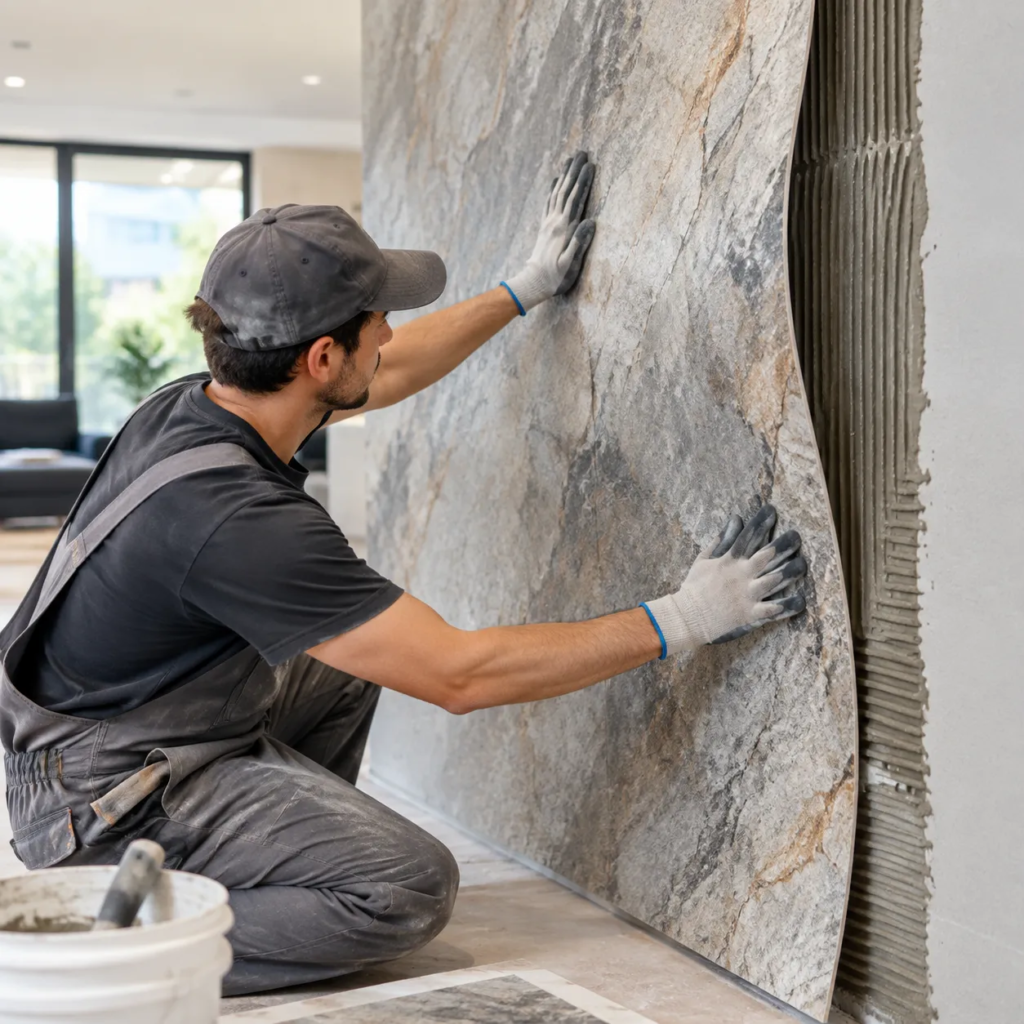
Every project comes with unique architectural quirks. When navigating difficult layouts during the flexible stone installation process, we rely on proven techniques to handle corners, custom joints, and existing substrates without compromising the finish.
Forming Corners, Edges, and Curves
Working with curves and sharp angles requires precision to keep the stone surface intact:
- Gentle Heat Application: We use a standard heat gun on a low setting along the bend line. This softens the backing and allows the sheet to wrap smoothly around tight radiuses and circular columns.
- Outside Corners: For crisp 90-degree exterior corners, we either miter-cut the backing at a 45-degree angle or wrap the sheet warm, securing the edge with painter's tape until the adhesive bonds.
- Inside Corners: Simply score the back of the sheet, measure and cut if necessary, and seat the panel firmly into the junction to ensure full contact.
Grouting and Finishing Joints
Depending on the design aesthetic, we finish seams using one of two methods:
- Seamless Butt Joints: Placing sheets tight against each other for a continuous, solid-slab look. Any minor micro-gaps are filled with color-matched stone repair paste or tinted silicone.
- Spaced Grout Lines: Leaving standard 2–3 mm gaps between sheets. We apply a flexible, UV-stable grout or polymer sealant, wiping away excess material immediately with a damp sponge before it cures on the textured surface.
Installing Over Existing Tiles
Flexible stone veneer is ideal for renovations because it eliminates the need for messy tile demolition:
| Step | Action Required |
|---|---|
| Surface Prep | Clean and degrease the existing tile thoroughly to remove soap scum, oils, and dirt. |
| Stability Check | Tap tiles to find hollow spots; remove and patch any loose or cracked pieces level. |
| Adhesive Selection | Use a high-grab, modified polymer adhesive or epoxy-based bonding agent designed for non-porous surfaces. |
| Application | Apply adhesive evenly across the substrate, press the panel firmly, and smooth the veneer to eliminate trapped air. |
Post-Installation Care and Surface Sealing
Completing the flexible stone installation process requires proper surface protection to preserve the natural stone texture, prevent staining, and ensure lasting durability.
Sealing for Waterproofing and Protection
Applying a quality sealant is the most critical final step to protect flexible stone against moisture, grease, and environmental wear.
- Choose the Right Sealer: Use an impregnating, penetrating stone sealer to maintain the natural matte finish, or opt for an acrylic-based topical sealer if you prefer a subtle sheen and extra surface gloss.
- Surface Check: Ensure the panels and adhesive are fully cured, dry, and dust-free before application.
- Even Application: Apply a uniform coat using a foam roller or lint-free microfiber cloth. Work in sections, wiping off excess liquid within 5 to 10 minutes to prevent residue buildup.
- High-Moisture Areas: Apply a second coat in wet zones like shower surrounds, kitchen backsplashes, and exterior facades after the first layer dries completely.
| Area Type | Recommended Sealer Type | Reapplication Cycle |
|---|---|---|
| Interior Feature Walls | Penetrating / Natural Finish | Every 3–5 years |
| Kitchens & Bathrooms | Hydrophobic & Oleophobic Sealer | Every 1–2 years |
| Exterior Applications | UV-Resistant Water Repellent | Every 1–2 years |
Routine Cleaning and Long-Term Maintenance
Maintaining flexible stone veneer is straightforward when you use the correct cleaning practices:
- Mild Cleaning Agents: Clean the surface using warm water and a pH-neutral cleaner designed for natural stone.
- Gentle Tools: Use soft cloths, non-abrasive sponges, or microfiber towels to wipe down panels.
- Avoid Harsh Chemicals: Do not use bleach, acidic bathroom cleaners, ammonia, or abrasive scouring pads, as they strip the protective sealant and damage the stone veneer.
- Spill Management: Wipe up spills—especially oils, coffee, and acidic liquids—immediately to prevent deep staining.
Common Installation Mistakes to Avoid
Even with the best materials, overlooking basic details during the flexible stone installation process leads to costly setbacks. I regularly see projects run into issues simply because basic application rules were bypassed.
Inadequate Wall Preparation and Uneven Surfaces
Flexible stone conforms to the structure beneath it. If your substrate is uneven, every bump and hollow will show through the finished face.
- Skipping thorough surface preparation: Dust, grease, or peeling paint prevents a secure bond, causing sheets to lift over time.
- Ignoring substrate unevenness: High spots must be sanded down and depressions filled flat before mounting panels.
- Working on wet or unsealed walls: Trapped moisture behind the stone leads to adhesive failure and surface discoloration.
Using Incorrect Adhesives and Rushing Cure Time
Adhesive selection directly impacts durability. Using shortcuts during application compromises the entire structure.
- Selecting incompatible adhesives: Standard tile mortars or weak contact glues often lack the flexibility needed for natural stone sheets.
- Failing to smooth the veneer: Trapped air bubbles create hollow spots; you must press and roll the surface evenly.
- Rushing the drying window: Handling, cutting around fixtures, or exposing newly mounted stone to moisture before full cure causes shifting and joint separation.
DIY vs. Professional Installation
Deciding between tackling the flexible stone installation process on your own or hiring a seasoned contractor comes down to project scale, architectural complexity, and your comfort level with basic tools. We design our flexible stone veneers for straightforward handling, making them accessible to hands-on homeowners while still meeting the rigorous demands of commercial contractors.
When to Do It Yourself
Handling the project yourself is cost-effective and entirely manageable under the right conditions:
- Standard Feature Walls: Flat interior accent walls, bed headboards, or TV backdrops with minimal cutouts.
- Basic Surface Types: Drywall, concrete board, or existing clean tile where intensive structural surface preparation is not required.
- Manageable Project Sizes: Small-to-medium areas where standard tools—like shears, utility knives, and a notched trowel—allow you to measure and cut panels without specialized equipment.
- Straightforward Layouts: Straight runs that only require you to apply adhesive and smooth the veneer firmly with a hand roller.
When to Hire a Professional
Bringing in a certified installer or trade professional is recommended for high-demand environments:
- Exterior Facades and Multi-Story Installations: Outdoor applications that require scaffolding, specialized weatherproofing barriers, and strict adherence to local building codes.
- High-Moisture and Wet Areas: Walk-in showers, steam rooms, and pool surrounds that demand certified waterproofing membranes and flawless adhesive selection.
- Complex Architectural Geometry: Tight three-dimensional curves, complex columns, or intricate mitered corners requiring precision heat-forming and specialized cutting tools.
- Large-Scale Commercial Spaces: High-traffic retail, hospitality, or office developments where tight timelines and warranty compliance are critical.
Frequently Asked Questions About Flexible Stone Installation
Can Flexible Stone Veneer Be Installed Outdoors?
Yes, flexible stone veneer works exceptionally well for exterior applications. The material stands up to diverse climate conditions when installed using proper techniques and materials.
- Substrate Compatibility: Mount directly onto concrete, cement board, masonry, or treated exterior framing.
- Adhesive Selection: Use an exterior-grade, waterproof polyurethane or high-tack polymer adhesive to ensure a permanent bond.
- Surface Protection: Apply a high-quality, breathable penetrating sealer after mounting to block moisture penetration, UV degradation, and frost-thaw damage.
How Long Does the Installation Process Take?
The flexible stone installation process is significantly faster than setting traditional heavy stone or tile. Most residential and light commercial projects can be completed in a fraction of the time without specialized masonry tools.
| Project Stage | Estimated Time Frame | Key Focus |
|---|---|---|
| Surface Preparation | 1 to 3 hours | Cleaning, leveling, and priming the substrate |
| Layout, Cutting & Mounting | 4 to 8 hours | Dry fitting, measuring cuts, and securing panels |
| Adhesive Curing | 24 hours | Allowing adhesive bond to reach initial working strength |
| Final Sealing & Detailing | 1 to 2 hours | Applying surface protective coat and finishing joints |
For a standard accent wall measuring 100 to 150 square feet, the active hands-on work typically takes less than a single workday. Full curing and sealing wrap up within 24 to 48 hours.